How to Put on Apple Watch Band: Quick & Easy Guide

Putting on an Apple Watch band is simple. It takes just a few steps to change or attach a new band.
Apple Watch bands come in various styles and materials. Whether you want a sporty look or something more elegant, finding the right band is easy. Changing bands can help you match your watch to your outfit or mood. The process is quick and doesn’t require any special tools.
In this guide, we will break down how to put on an Apple Watch band step by step. You will learn tips and tricks to make it even easier. With just a bit of guidance, you can switch bands like a pro. Let’s dive into the details and get your Apple Watch looking great!
Introduction To Apple Watch Bands
Apple Watch bands come in many styles. A proper fit is very important. It helps the watch stay secure. A loose band can fall off. A tight band can hurt your wrist.
Choosing the right style is fun. There are sport bands, leather bands, and metal bands. Each style has its own feel and look. Some bands are good for exercise. Others are better for special events.
Make sure to try on bands before buying. This helps find the best fit. A well-fitted band makes your Apple Watch more comfortable.
Types Of Apple Watch Bands
Apple Watch bands come in many styles. Each type offers different features.
Sport Bands are made from soft, flexible material. They are great for workouts. These bands are also easy to clean.
Leather Loops offer a classic look. They feel soft against the skin. These bands are perfect for work or formal events.
Metal Link Bracelets add a touch of elegance. They are sturdy and can fit many wrist sizes. These bands can be dressed up or down.
Preparing For Band Installation
Before changing your Apple Watch band, gather the right tools. You will need a small pin tool or a paperclip. These help remove the old band. A soft cloth is also useful for cleaning. Use it to wipe your watch.
Start by cleaning your Apple Watch. Dirt can get stuck around the band area. Use a soft, damp cloth to gently wipe the watch. Make sure to dry it well before changing the band.
Keep your workspace clear. A clean area helps you focus. This way, you won’t lose any small parts. Remember, a little preparation goes a long way.
Attaching A Sport Band
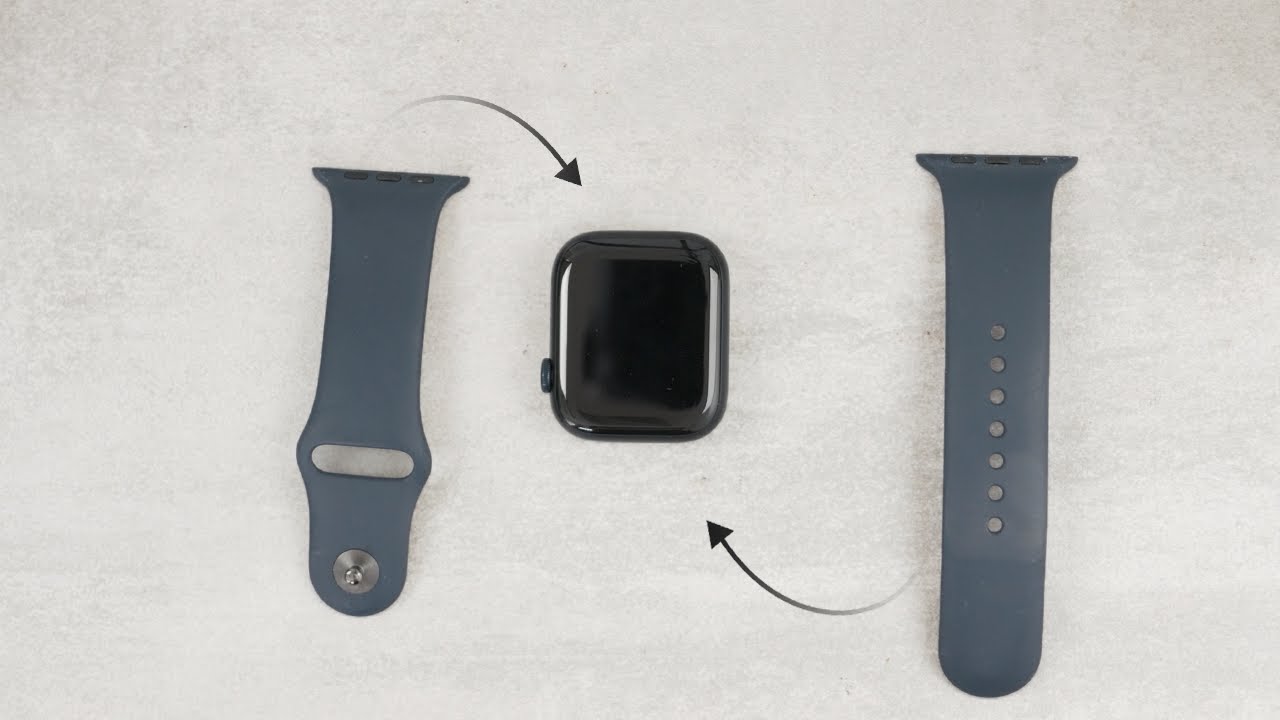
To attach a Sport Band to your Apple Watch, start by aligning the band. Look for the small button on the band. Press it while sliding the band into the watch. Make sure it fits snugly. You will hear a click when it is secure.
Next, securing the band in place is important. Check that both ends of the band are tight. Move your wrist a little to test it. The band should stay in place. If it feels loose, remove it and try again.
Securing A Leather Loop
To secure a leather loop on your Apple Watch, start by placing the loop around your wrist. Make sure the watch face is on the top of your wrist. The leather should fit snugly but not too tight.
Next, adjust the magnetic closure. Hold the ends of the leather loop close together. The magnets will pull the ends together. This makes it easier to connect them. Find the right spot that feels comfortable.
Test the fit. Move your wrist around. The band should stay in place. If it feels loose, adjust the closure again.

Credit: return2.net
Connecting A Metal Link Bracelet
To open the metal link bracelet, find the clasp. Look for the small button or lever. Press this button gently. The clasp should open easily. Pull the two ends apart. Be careful not to force it.
Next, ensure a snug fit on your wrist. Place the bracelet around your wrist. Adjust the links to fit comfortably. The band should feel secure, but not too tight. You should be able to move your wrist easily.
Check the fit by moving your wrist. The watch should not slide around. If it does, adjust the links again. A good fit makes wearing your watch more enjoyable.
Adjusting For Comfort And Security
Checking the band tension is important. A good fit keeps the watch secure. Slide your finger under the band. It should feel snug but not tight. If it feels too loose, adjust it. If too tight, loosen it up.
For daily use, wear the watch comfortably. Avoid wearing it too low on the wrist. Place it above your wrist bone. This helps with accurate heart rate readings. Adjust the band for different activities. Tighter for workouts, looser for relaxing.
Remember to check the band often. A well-fitted band helps the watch work better. Enjoy your Apple Watch with comfort and ease.

Credit: wristcam.com
Troubleshooting Common Issues
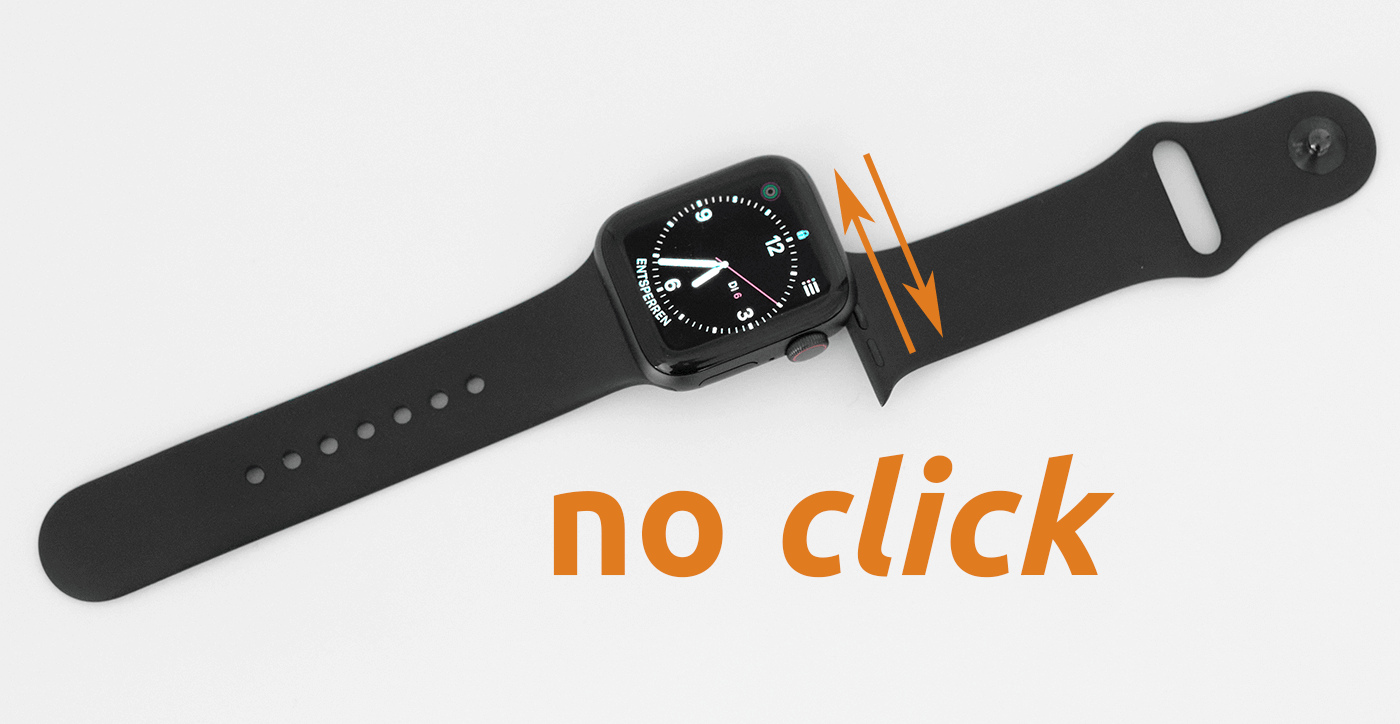
Sometimes, the band may not click into place. First, check if the band is aligned correctly. Look for the small buttons on the band. Press them and push the band in. It should click easily.
If the band feels too loose or tight, adjust it. For a loose band, try to tighten it by using a smaller size. If it is too tight, use a larger size or add extra links. This helps it fit better.
Caring For Your Apple Watch Band
Caring for your Apple Watch band is important for its life.
A regular cleaning routine keeps your band looking new. Use a soft cloth to wipe it. For deeper cleaning, use a mild soap and water mix. Avoid harsh cleaners. Rinse and dry the band well.
Storing your bands properly is also key. Keep them in a cool, dry place. A soft pouch or box works well. This protects them from dust and damage.
Remember to check for any signs of wear. Replace bands that show too much wear. This keeps your watch looking fresh.
Customizing Your Look
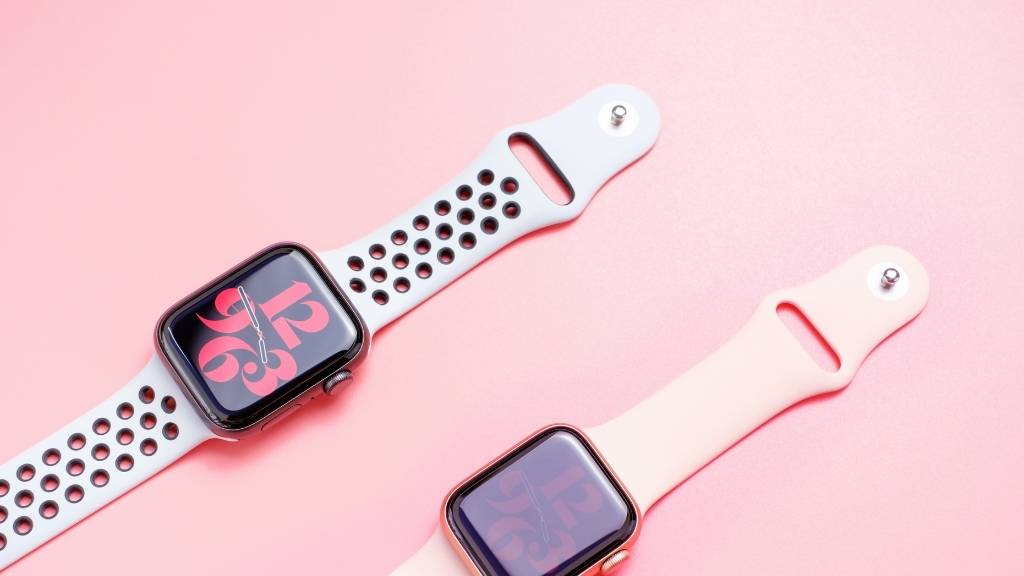
Mixing and matching bands can change your style. Use different colors and materials. This adds fun to your look. Choose a casual band for daily wear. Switch to a dressy band for special occasions.
Adding charms and accessories makes it personal. Charms can express your style. Use different colors to match your outfit. Accessories can also include cases and stickers. These small details show your unique taste.
Try different combinations. See what looks best for you. Remember, there are no strict rules. Enjoy the process of customizing your Apple Watch.

Credit: www.youtube.com
Frequently Asked Questions
How Do I Change My Apple Watch Band?
To change your Apple Watch band, first, turn your watch over. Locate the band release buttons on the back. Press and hold the buttons while sliding the band out. Slide the new band in until you hear a click. Ensure it’s secure before wearing your watch again.
What Types Of Apple Watch Bands Are Available?
Apple offers various types of bands, including Sport, Leather, and Metal. Each type comes in different styles and colors. Popular options include the Solo Loop and Braided Solo Loop. Choose a band that suits your personal style and comfort for daily wear.
Can I Resize My Apple Watch Band?
Yes, many Apple Watch bands are adjustable. Sport bands typically have multiple holes for sizing. Leather bands often come with removable links or adjustable clasps. Measure your wrist to find the best fit, ensuring your band is snug but comfortable.
Is It Easy To Put On An Apple Watch Band?
Yes, putting on an Apple Watch band is quite simple. Just slide the band into the designated slots until you hear a click. Make sure the band is aligned properly for a secure fit. It only takes a few seconds to switch bands.
Conclusion
Putting on your Apple Watch band is simple and quick. Follow the steps carefully for the best fit. A proper band makes your watch comfortable and stylish. Remember to check the size before buying a new band. Experiment with different styles to match your look.
With just a little practice, you’ll get the hang of it. Enjoy your Apple Watch and the options it offers. A good band can make a big difference. Happy wearing!


